DIY Watercolor Tees
We've recently noticed a ton of new artists uploading stunning tee designs with watercolor effects. These designs use anything from simple illustrations and watery-looking photoshop brushes to real photos and revealing techniques. These effects can give your tees a truly unique look that makes it seem as if you painted your design right onto the shirt.
Check out featured watercolor tees and create your own watercolor design with our 10-step Photoshop lesson below.
New DBH Watercolor Tees
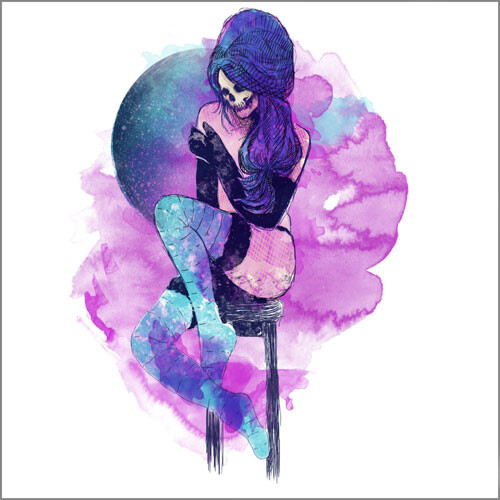
This design features a simple illustration of a skull-woman that has been "painted" with watercolors.
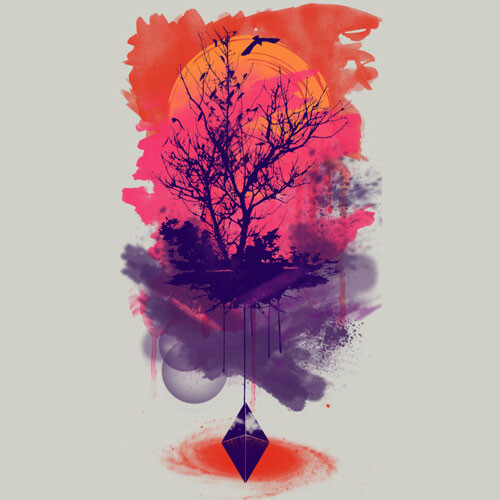
This design uses a revealing technique and vector images to create this brightly colored sunset. Our tutorial below explains more about to re-create a design like this!

Perfect Harmony V2 by daletheskater
Similar to "A Louca" above, this design uses a simple, yet detailed illustration that is colored with watercolor brushes.
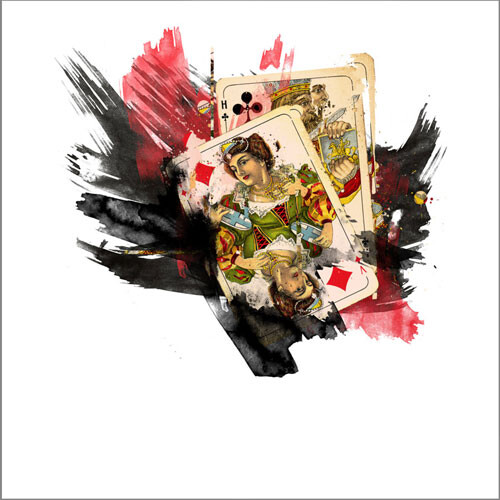
In this design real photos are layered between watercolor brushes with thick strokes. The thick brush strokes and darker colors really give off the impression of process work.
Create your own watercolor tees with Photoshop in 10 easy steps
First, you will need 2 stock photos of your choice (1 of an image and 1 of a texture) and a set of watercolor photoshop brushes from somewhere like Brusheezy. For more info on how to install these brushes into Photoshop, click here. The same process will work on a Mac.
Step 1: Open Photoshop and create a new document. For this example I chose a simple 2000 x 2000 pixel sqaure with 300 DPI.
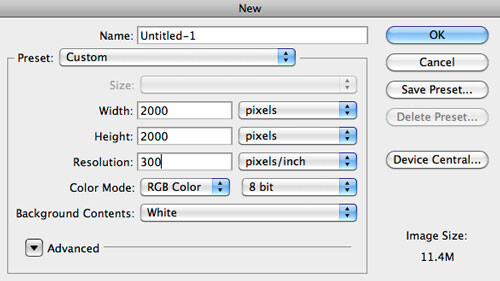
Step 2: Add a new layer to this document and fill it with white. Make sure your foreground and background colors are black and white.
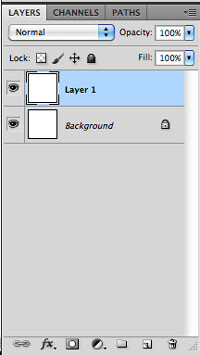
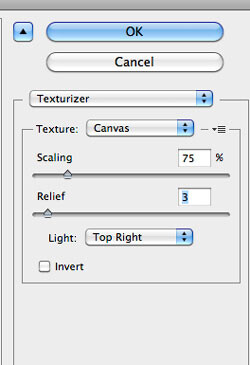
Step 3: With Layer 1 selected, go to Filter>Texture>Texturizer. Use Canvas for the Texture, 75% for the Scaling, 3 for the Relief and for the Light choose Top Right.
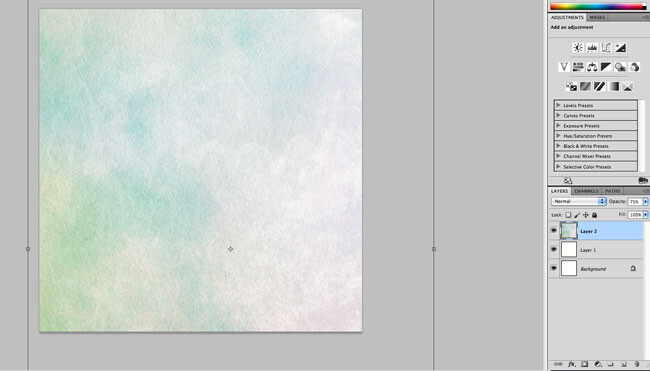
Step 4: Add your texture photo to your document, making sure it is on top of all your other layers. Set the opacity to 75%.
Step 5: Add your image to your document. Then go to Layer>Group Layer. The will place the layer of your image inside a folder in the Layer Palette. Select that folder and go to Layer>Layer Mask>Hide all. This will hide your image under your texture layer so you can start "revealing" it with the watercolor brushes.
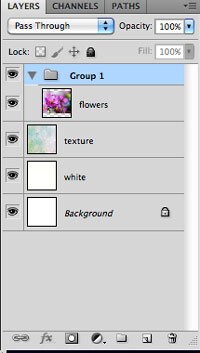
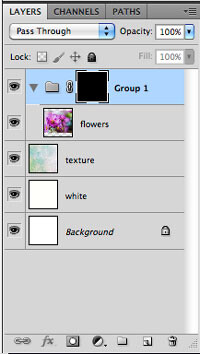
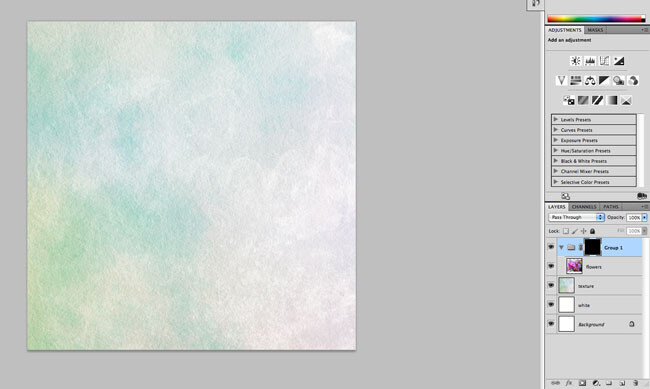
Step 6: Select one of the watercolor brushes from your palette. Make sure the color of this brush is white. Begin "painting" on the layer mask group you just created. Your image should begin appearing through your texture photo.
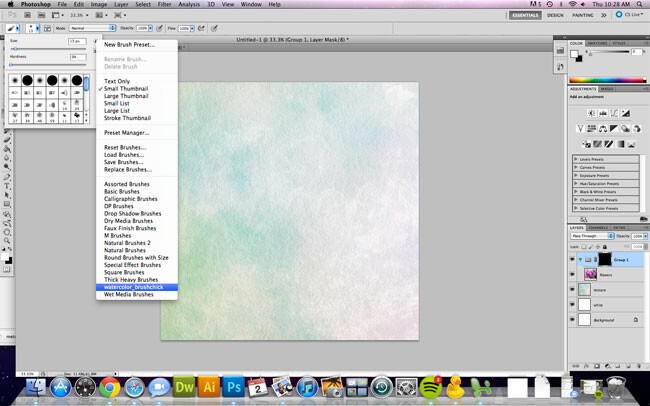
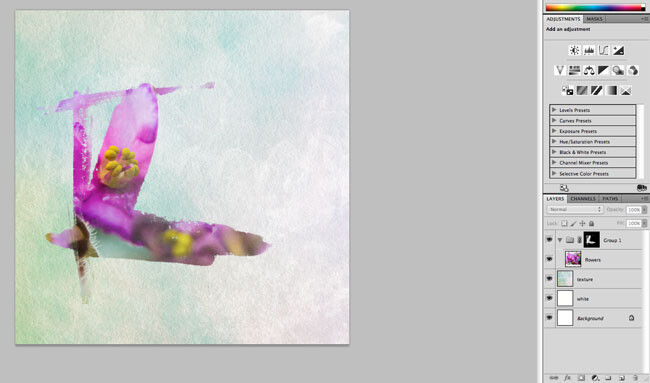
Step 7: Choose another brush and revealing more of your photo. Experiment and try different opacities, too! Just make sure to keep the brush strokes visible - that's what gives off the watercolor effect.
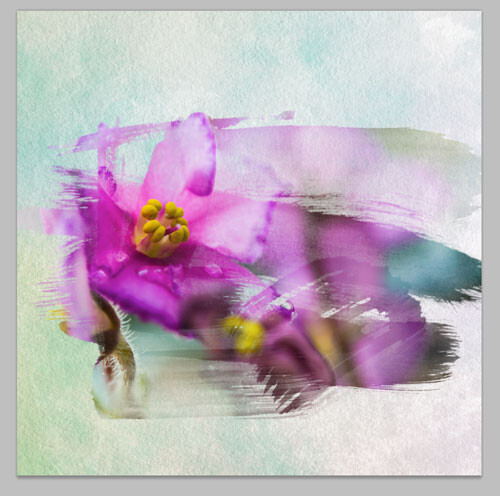
Step 8: Now it's time to add some color. Add another layer beneath your group layer that has your image in it. (I named mine "watercolors"). Select a different watercolor brush and begin "painting" over your image with different colors that complement your image.
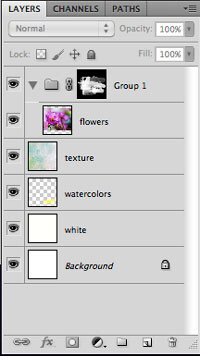
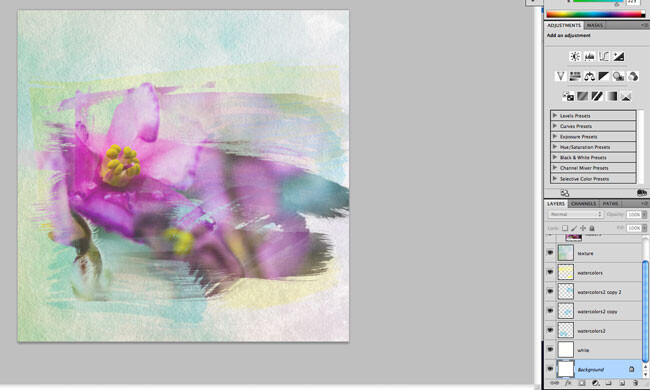
Step 9: Add more wateroclor effect to your image by adjusting its' color. Select the image and go to Image>Adjustment>Photo Filter. Then, select the Warming Filter (85) and 55% for the Density. Make sure the Preserve Luminosity box is checked.
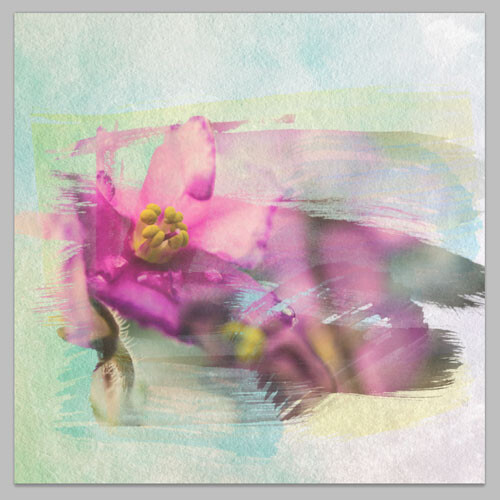
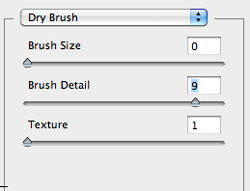
Step 10: Finally, let's add some more texture for more artist effects. Select your image and go to Filter>Artistic>Dry Brush. Select 0 for the Brush Size, 9 for the Brush Detail and 1 for the Texture.
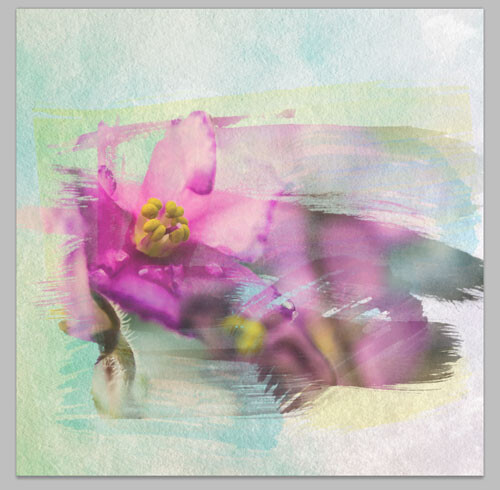
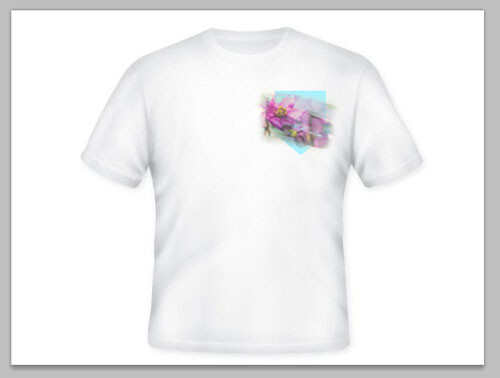
Here's the final design! This minimalistic tee features the ever-famous "pocket" design with the watercolor effects we just created. Congratulations on finishing the tutorial!
While delicate-looking flowers and painterly designs might not be for everyone, we hope these effects and tutorial inspire you to create something new. Good luck on your next great tee design!
Here are some extra links with helpful tutorial and free watercolor brushes:
Free photoshop brushes and tips/tutorial sites for watercolor design


